Video ID: 181029
How to Restring a Graber and Bali Cellular Honeycomb Shade
Introduction
One of the most common repairs needed on cellular shades is restringing. This guide covers restring cellular shades manufactured by Graber, Bali and Springs Window Fashions. The shades may be called CrystalPleat or DiamondCell.
A Note on Safety
Kids can strangle in blind cords. To make your blinds safer for kids, keep cords out of reach and secure cord and bead chain loops. To learn more, please visit our child safety guide.
Tools Needed

Scissors
Flat-head Screwdriver
Phillips Screwdriver
Tape Measure
Rubber Bands
Needle Nose Pliers


Step 1 – Measure your shade to get the proper string length needed.


- Pull the string off the roll and cut all the strings you’ll need for your repair.
- We recommend replacing all lift strings to ensure the proper function of the shade.
Step 2 – To remove the shade, insert a flathead screwdriver between the bracket and headrail. Twist the blade of the screwdriver. This will disengage the headrail from the bracket.


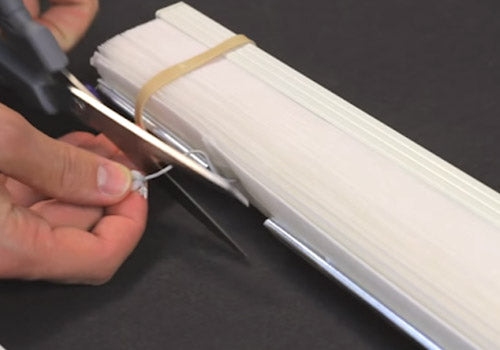
- Once out of your window, lay your shade on a flat surface, and compress it with rubber bands.
Step 3 – Remove the tassels and condensers, and set them aside.

-
- Cut any strings to remove tassels if needed.
Step 4 – Remove the bottom rail end caps with your flat-head screwdriver, and set them aside.


- Remove the rubber bands and slide the bottom rail off.
Step 5 – Cut the strings and remove washers from the bottom rail. Set the washers aside.
- Pull the old cord through the shade and discard.
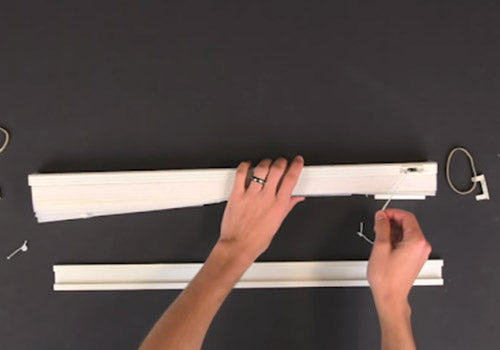
Step 6 – Remove any screws in the top rail and set aside.


- Remove top rail end caps and set aside.
- Remove the top rail by sliding it away from the shade fabric.
- Lay out all of the parts on a flat surface.
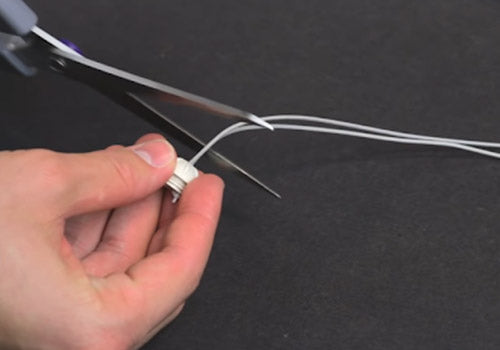
Step 7 – Thread your string through the eye of the needle, and thread it through the shade fabric.
If needed, use your pliers to pull the needle through the shade.


- Thread your string through the eye of the needle, and thread it through the shade fabric.
- If needed, use your pliers to pull the needle through the shade.
Step 8 – Pull the cord through the shade until the washers are seated at the bottom of the fabric.

Step 9 – Lay the strings on the cord lock side, and then slide the top rail onto the shade fabric.

Step 10 – Use the wire tool to feed the strings through the back of the cord lock.


- Feed the strings through the wire tool, and pull them through the cord lock.
- Use your wire tool to feed the strings through the front of the cord lock.
Step 11 – Feed the strings through the wire tool and pull them through the front of the cord lock.


- Verify the strings are pulled completely through the front of the cord lock.
- Use a flat-head screwdriver to slide the fabric over the cord lock.
Step 12 – Slide the bottom rail onto the shade fabric.


- Reattach the end caps to the bottom rail.
- Reattach the end caps to the top rail.
Step 13 – Replace the screws in the top rail.

Step 14 – Reattach your shade to the window, and test its operation.


- Pull the strings to raise and lower the shade. Make sure it locks in place.
Step 15 – Lower the shade in the down position, and trim your strings to the desired length.


- Pull the strings to raise the shade a few inches from the top.
- Reattach any tassels and condensers to the strings.